Joining the Top
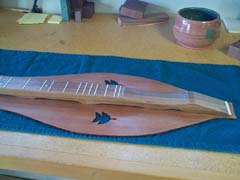
Now we have a completed body, top, and fretboard. They all have to come together now. First the top and fretboard are joined, then that assembly glued to the body.

 The top and fretboard are joined with an unconventional method: light hot hide glue and screws! This joint is so critical, I don't want it to come apart no way, no how (unless I need to take it apart for repair, of course). The hide glue makes a good bond with the top, yet the joint is easily parted with a hot knife. I use brass #4x3/8" – two in each "foot" of the fretboard.

Click to see full size