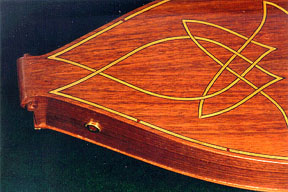
Creating the Purfling Knots
The inlay of the back is an exacting process, but very rewarding from the perspective of the artisan. It draws together many skills in design, invention, and execution.
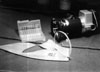 The inlay begins with creating a design. One design is created for the upper bout and another for the lower. These designs are then used to cut wooden templates. The templates are then used to guide the routing of the grooves in which to press the small strips of wood which create the pattern. At left is a scene of the major tools used in routing the inlay grooves. You can see the pattern in the foreground of the photo. In this article, we explore the details.
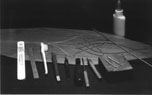 Here are the tools I use for inlaying. Pretty simple, really. By the way, the bottle of yellow glue is no longer used, nor is the nail file. I've started using hide glue--easier to deal with. And I use planes and scrapers rather than nail-files to get the inlay down to the same level as the back. The most important tools are sharp tools and a good magnifying glass. In this article, we talk about the process of creating and laying-in the purfling knots (the technical name for the inlay patterns on the back of a musical instrument).